Showing posts with label refurbish. Show all posts

Friday, April 18, 2014

Making Futons Rain-Ready

Two Beddinge futons for very little scratch--check! Pallets lined up and ready for use as a sectional--check! Now, making it so that the futons would survive the outdoors...a little trickier. 

There are sources for futon covers made in water resitant fabrics. The cheapest I found was the Futon Shop, at $215 for a queen size. (Beddinge is slightly longer than a regular full.) That's way over budget BEFORE I times it by two. 

Plus, my CL futon finds had each come with covers. It made sense to try to reuse those. I crossed ideas such as fashioning cushion covers from picnic blankets, drop cloths or duck cloth off my list. Now it was all about waterproofing what I had. Time to get creative, do some research and keep my fingers crossed.

I orded two vinyl, zipped queen mattress covers on Amazon for a total of $25 (from Shop Bedding). This was a little more than the cost of the plastic ones, but from what I read would last longer and was less likely to tear. I looked for covers that claimed to block allergens, under the theory that they'd block my mattresses from mildew. We will see. 

When it came to waterproofing the fabric, the search was a little more daunting. Ever heard of fluorpolymer? Nope? Neither did the thousands of people who sustained respitory injuries by inhaling it when they used waterproofing sprays. I'm sure there are safe useage guidlines, but I'd like to pass on the poison.

And now the questions. There are a number of 100% wax solutions, DIY and premade. But, will wax leave the fabric to stiff? And how long would it take to wax two big futons??? Nikwax offers a non-fluorpolymer spray, but how many buckets of that will I need? A friend suggested just using fitted sheets and pulling off when it rains, but it seems a shame to not use the covers which of course will fit perfectly and look much more put together. Ok, back to the blogosphere to look for a solution.

Friday, April 12, 2013

Hoosier Mama? New Look to Vintage Piece

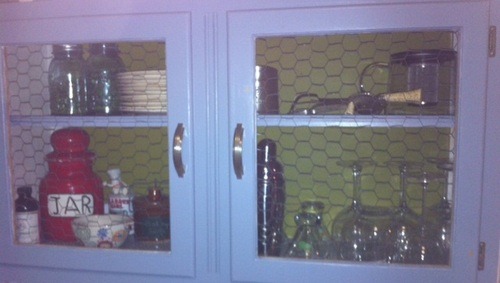
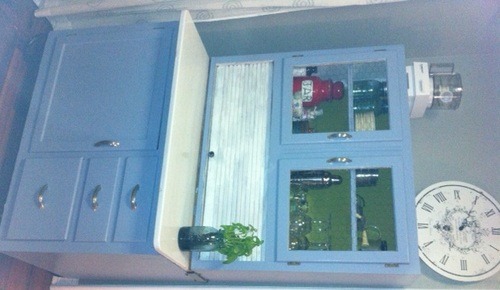
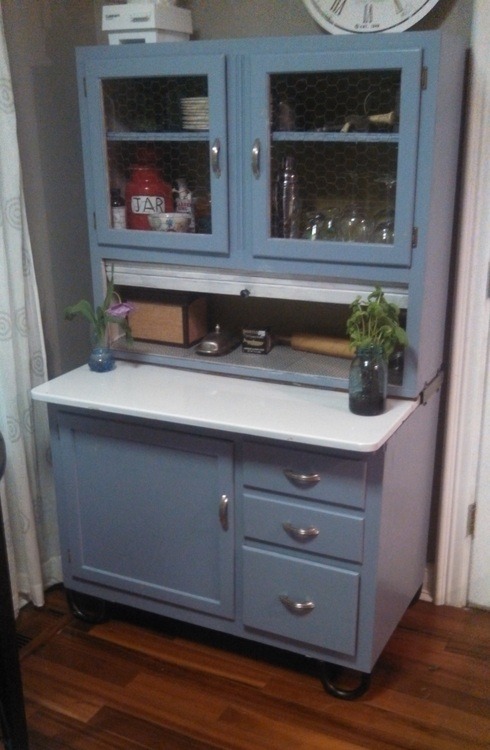
Finally! The hoosier that moved into our garage, patiently waiting for a face lift, before we moved into this house, now has it's rightful place in our kitchen:

image

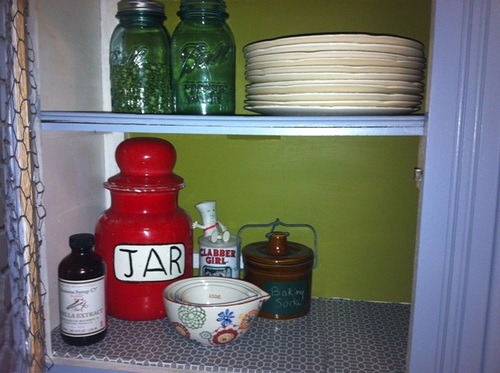
My baking corner! And my wine corner. Given my lack of baking affinity, it is best to keep these close together. I almost gave up on those original  handles, they were caked with decades of kitchen grease and grime. I'm so glad I decided they were worth some elbow grease and TLC. 

image

image

So, why did it take SO long to put this cabinet in its rightful place? One, the garage was a disaster zone long after we'd settled into the rest of the house. I simply couldn't get to the hoosier to start my project.

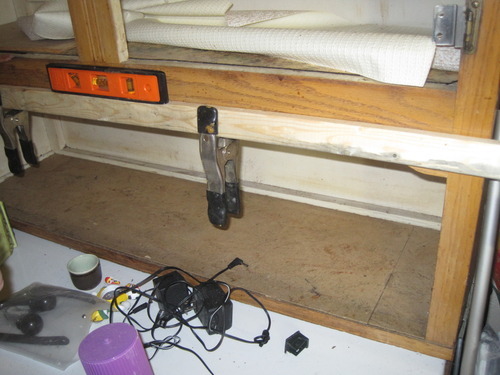
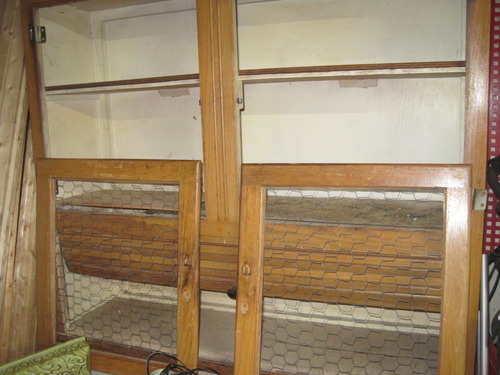
Two, it involved more than a coat of paint. Originally, the doors had a center panel that had a PA dutch style tulip stencil. But not in a good way. There was also scalloped edging under the cabinet doors, way to country kitchen for me. Here's some pics between before and after (I neglected to take pics early on):

image

image

Luckily, organizing the garage motivated my husband to bust out his tools, so he happily jigsawed off the unwanted elements of the hoosier. From there, all it needed was primer, chicken wire, custom paint (me mixing random colors in an old yogurt container), a staple gun, shelf liner...ok, a lot went into this. And we are so happy with the end result!   Extra storage, a vintage meets modern feel and a piece that we can both look at as a labor of love. It's amazing what we can accomplish in a year and a half when we work as a team. ;-)  image